How To Install A Speaker On Your Boat? (2023)
Marine Tech Miami • March 3, 2023
If you're a boater, you know there's nothing quite like being out on the water with the wind in your hair and the sun on your face.
But have you ever felt like something was missing from your on-water experience?
For example, the sound quality of your boat's stereo and speakers may need to be better.
Having quality sound on a boat is essential to enhance the overall experience.
It not only sets the mood for your day out on the water but also adds a level of entertainment and enjoyment for everyone aboard.
However, if you're tired of the lackluster audio quality that comes with factory-installed boat speakers, it's time to consider upgrading.
In this blog post, we'll provide a step-by-step guide on installing a stereo and speakers on a boat.
While the process can be challenging, those with some audio installation experience should be able to complete it successfully.
By the end of this guide, you'll be able to upgrade your boat's audio system and take your on-water experience to the next level.
Choosing the correct stereo and speakers
Choosing the right equipment is crucial when upgrading your boat's stereo and speakers.
There are several factors to consider, such as the materials used, power output, and compatibility with your boat's electrical system.
Firstly, it's essential to choose marine-grade materials to ensure the longevity of your equipment.
Marine-grade materials are specifically designed to withstand the harsh marine environment, including exposure to saltwater and UV rays.
In addition, you'll want to ensure that your stereo and speakers are made with materials that resist corrosion, such as stainless steel or treated aluminum.
Power output is another critical factor when choosing a stereo and speakers.
You'll want to ensure your selected equipment has enough power to provide the desired sound quality and volume.
In addition, it's essential to match your stereo's power output with your speakers' power handling to avoid damaging them.
Compatibility with your boat's electrical system is also essential.
You'll want to ensure your chosen equipment works with your boat's existing wiring and electrical components.
Again, it's best to consult a professional or refer to your boat's manual to determine compatibility.
When it comes to recommended brands and models, there are several options.
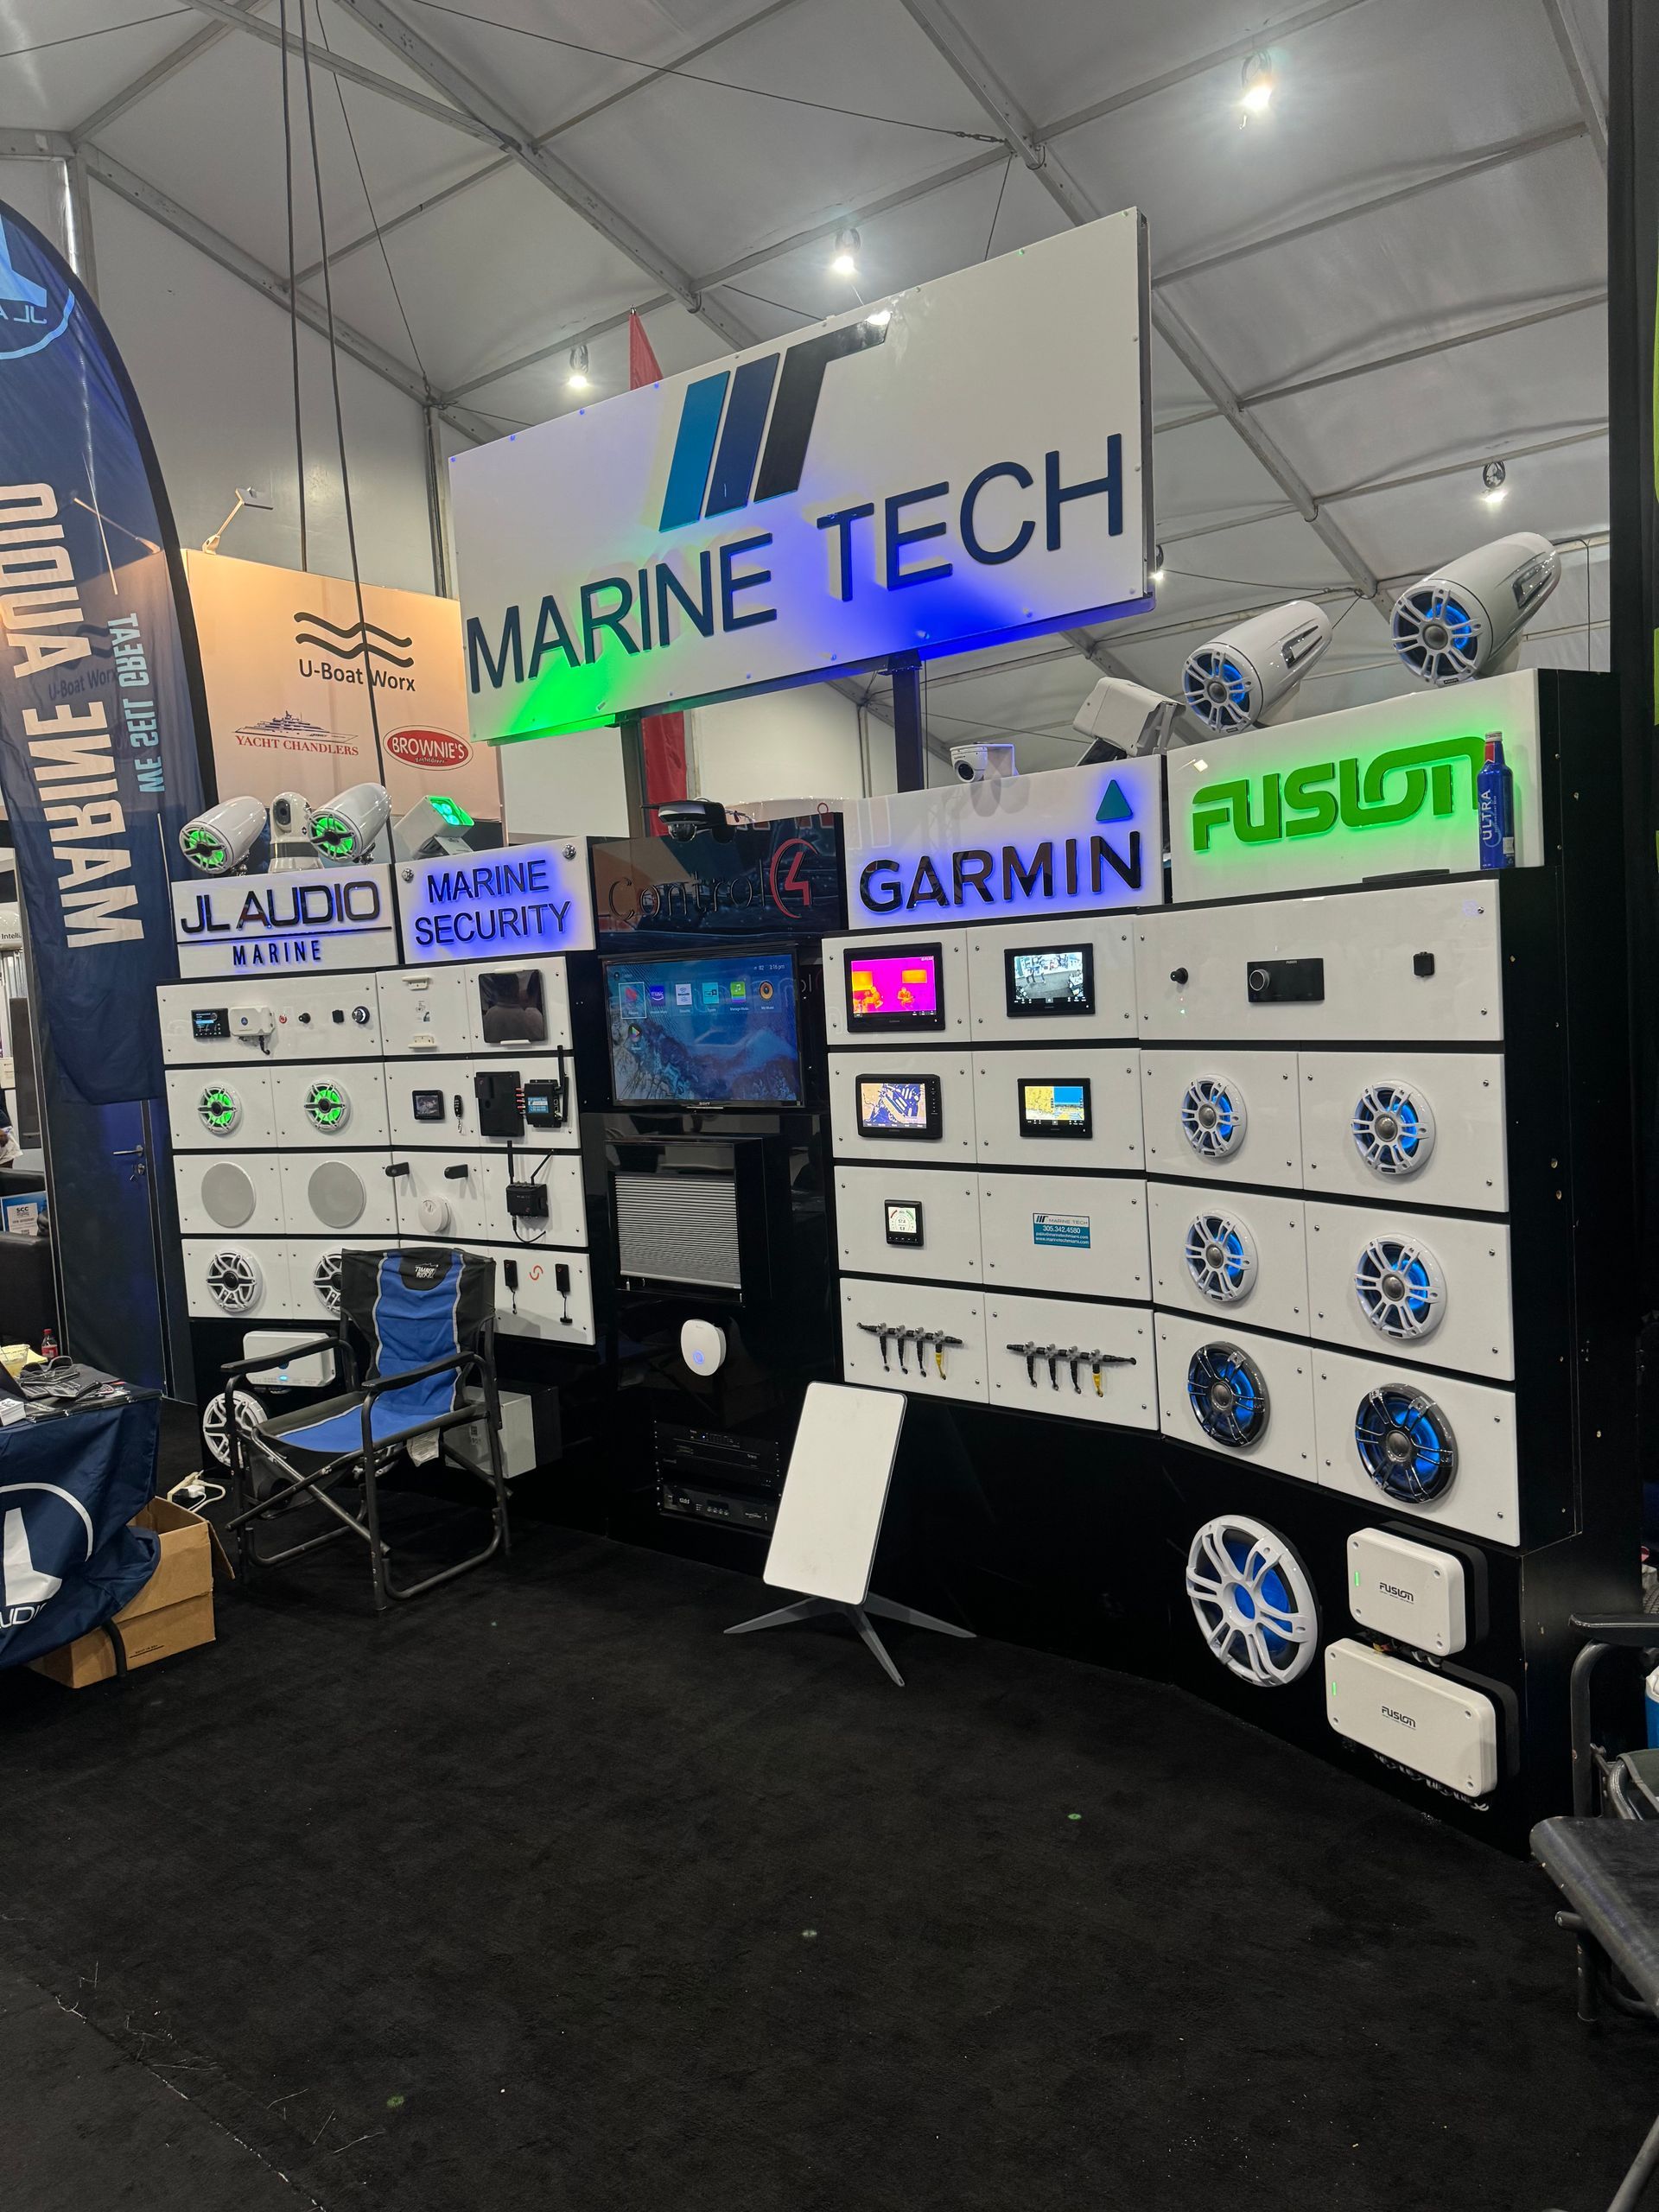
For marine-grade stereos, brands such as Fusion, JL Audio, and Kenwood are well-known for their quality and durability.
In addition, these brands offer a range of models with various features, such as Bluetooth connectivity, USB inputs, and AM/FM radio.
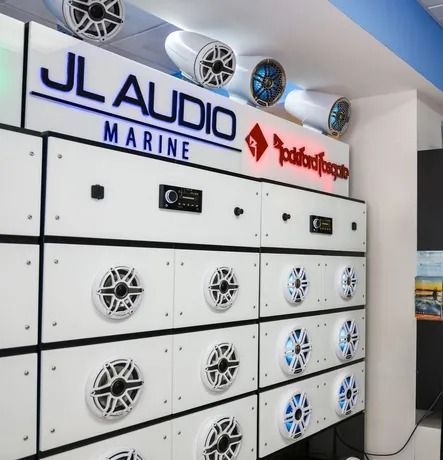
For speakers, JL Audio, Kicker, and Rockford Fosgate are popular among boaters.
These brands offer a range of sizes and styles, including tower speakers, subwoofers, and coaxial speakers.
Tools and materials needed for installation
Once you have selected the stereo and speakers for your boat, it's time to gather the necessary tools and materials to install them properly.
Here's a breakdown of the essential tools and materials needed for installation.
A. Tools needed for installation:
- Wire crimper and stripper: You'll need this tool to strip the insulation from the ends of the speaker wire and crimp connectors onto the wires.
- Pliers: These will come in handy for tightening screws and connectors.
- Electricians snake: This flexible tool helps you run wires through tight spaces and around corners.
- Drill: You'll need a drill to create holes to mount the speakers and run wires through the boat.
- Screwdriver set: Different sizes of screwdrivers may be required depending on the stereo and speaker models you select.
B. Materials needed for installation:
- Marine-grade speaker wire: Ordinary speaker wire may rust and deteriorate when exposed to moisture, so it's crucial to use it specifically designed for boats.
- Zip ties: These will be used to secure the wires and keep them organized.
- Electrical tape: This will be used to wrap the ends of the speaker wire and secure any connections.
- Drill bits: Depending on the size of the mounting holes needed, you may require a hole saw, or a saber saw.
Waterproof gaskets will seal the mounting holes to prevent water from entering the boat.
It's important to note that the specific materials and tools required for your installation may vary depending on your boat's unique features and the stereo and speaker models you choose.
Therefore, it's best to review the installation instructions for your specific stereo and speakers to ensure you have everything you need before you start the installation process.
Installing the stereo
When installing a stereo on a boat, you must take your time and do it right, since any little mistake can cost you both money and lots of time.
An adequately installed stereo will not only sound great, but it will also be safe and reliable.
In this section, we'll look at establishing a boat stereo.
A. Overview of the installation:
The process for a boat stereo will vary depending on the make and model of the stereo and the type of boat you have.
However, the general process is as follows:
- Preparing the mounting location: Choose a location for your stereo that is easily accessible and won't be exposed to excessive moisture or direct sunlight. You must prepare the mounting area by drilling holes and attaching brackets or mounting hardware as needed.
- Running wiring from the battery to the stereo:
You'll need to run wiring from the boat's battery to the stereo to power it. This will involve running wires through the boat's hull and securing them using zip ties and other hardware.
- Connecting the stereo to the boat's electrical system:
Once you have power running, you'll need to connect it to the boat's electrical system. This will involve connecting the stereo to any other electronics you have on board, such as GPS systems or fishfinders.
- Securing the stereo in place:
Once all the wiring is in place, you'll need to secure the stereo in place using mounting hardware. This will help prevent it from moving around while you're out on the water.
B. Step-by-step instructions:
Here's a more detailed look at each step of the installation process:
- Preparing the mounting location:
Choose a location for your stereo that is easily accessible and won't be exposed to excessive moisture or direct sunlight.
After that just use a drill to make holes for mounting hardware, brackets, or other components.
Mount any brackets or hardware in place that you might need at this point, to make sure they fit correctly.
- Running wiring from the battery or power source to the stereo:
Determine the best route for your wiring, avoiding sharp edges or other hazards that could damage the wires.
Run the wires through the boat's hull, securing them using zip ties or other hardware as needed.
Connect the wiring to the stereo's power supply.
- Connecting the stereo to the boat's electrical system:
Connect the stereo to any other electronics you have on board, such as GPS systems or fishfinders.
Test the stereo to make sure it's working correctly.
- Securing the stereo in place:
Use mounting hardware to secure the stereo, ensuring it's tightly secured and won't move around on the water.
Double-check all wiring and connections to ensure they're secure and won't come loose while you're on the water.
C. Troubleshooting Tips
Installing a stereo and speakers on a boat can be fun and rewarding, but like any installation project, it can have some challenges.
Here are some common issues that may arise during installation and how to troubleshoot and fix them.
A. Common issues that may arise during installation:
- Electrical issues: Electrical issues are common when installing a stereo and speakers on a boat. The boat's electrical system can be complex, and it's essential to understand how it works before beginning the installation process. Electrical issues can range from blown fuses to wiring problems.
- Compatibility issues: Ensuring that the stereo and speakers you choose are compatible with your boat's electrical system is crucial. Mismatched equipment can lead to problems like distorted sound or even damage to your boat's electrical system.
- Sound quality issues: Sound quality is paramount when installing a stereo and speakers on a boat. If the sound is distorted, too quiet, or too loud, it can ruin the entire experience.
B. How to troubleshoot and fix these issues:
- Electrical issues: If you experience electrical problems, the first step is to check all connections and wiring. Ensure that all wiring is secure and there are no loose connections. Check the fuses and replace any that are blown. If the issue persists, consult an electrician or a marine electronics specialist.
- Compatibility issues: Compatibility issues can be resolved by ensuring that your chosen equipment is compatible with your boat's electrical system. Review the manufacturer's specifications for the equipment and compare them to your boat's electrical system to ensure compatibility.
- Sound quality issues: Check the wiring and connections if you experience sound quality issues. Ensure that the speakers are wired correctly and that there are no loose connections. Adjust the stereo's settings to optimize sound quality. If the problem persists, consider upgrading your equipment.
In the end, installing a stereo and speakers on your boat can significantly enhance your boating experience.
Following the steps outlined in this guide, you can successfully install a high-quality audio system on your boat.
We recommend researching, seeking professional advice when necessary, and taking precautions to ensure a safe and successful installation.
And that's where we can help!
With more than 25 years of experience, our team has worked with every type of boat, from personal watercraft to mega yachts.
The Marine Tech team has the experience, quality, and warranty that you and your boat deserve.
We specialize in all types of marine electronics installation, and we can help get started with any upgrade you're thinking of doing to your vessel.
Contact us today for a free estimate!
Contact Us
Contact Us
Recent Posts

Miami boating is a way of life, not just a pastime. Whether you're cruising along the coast or exploring deep waters, you need the right marine electronics and entertainment systems to ensure safety and enjoyment. At Marine Tech Miami, we are experts in high-end marine electronics installation in Miami, providing state-of-the-art technology and professional service for everything from marine audio systems to marine radar installation. Experience Top-Shelf Marine Sound Installation in Miami Clarity and ruggedness are not negotiable when it comes to sound at sea. That's why we are delighted to be the highest-rated JL Audio marine system installers and Fusion stereo installation specialists close to you in Miami. From full boat stereo system Miami overhauls to bespoke installations, our experts deliver high-fidelity sound that penetrates wind and waves. Seeking a JL Audio marine Miami system? We have the newest in JL marine speakers Miami, providing your boat with crystal-clear highs and rich, punchy bass. Wanting an effortless integration and intelligent functionality? Our Fusion marine audio system Miami packages are ideal for you. We install Fusion marine stereos Miami that complement perfectly with Garmin and Control4 systems for a seamlessly connected yacht life. Garmin Marine Installers Miami: Navigation Meets Innovation Marine navigation has evolved, and Marine Tech Miami is your one-stop expert for Garmin marine installation in Miami and Ft. Lauderdale. Being certified Garmin marine installers Miami, we provide expert setups for Garmin chartplotter setup Miami, Garmin autopilot installation Miami, and even Garmin Marine Autopilots Miami. Our company also deals with Garmin marine chartplotter Miami systems, providing touchscreen chartplotters that integrate GPS, sonar, radar, and engine information into a single easy-to-use interface. We make sure each boat GPS installation Miami is precisely calibrated and easy to use so you can sail confidently in any weather. Marine Radar and GPS Installer Miami: Sail with Confidence A trustable radar system is essential to boating safety, particularly in challenging coastal waters. As an approved marine radar and GPS installation Miami company, we offer total marine radar installation Miami services using only the best brands such as Garmin and Raymarine. Regardless if you are a sport fisher or a recreation cruiser, our personalized marine GPS installation Miami setups are specifically suited to your boat's lifestyle and navigation demands. Stay Connected with Marine Internet and Starlink Installation Miami In the modern era, staying connected at sea is not a luxury—it's a requirement. That's why we provide marine Internet Miami services, such as Starlink for yachts Miami. With our Starlink installation Miami, you have high-speed, low-latency internet even off the coast, ideal for remote work, streaming, or staying in touch with loved ones. We also offer boat wifi Miami and yacht wifi Miami installations, offering robust, high-quality signals along your boat. As the leading boat WiFi installation Miami, we employ cutting-edge routers, access points, and satellite amplifiers to provide effortless connectivity. Optimize Your Ship with Marine Lights and Underwater Installations Enlighten your vessel with Miami's best marine lighting installers' custom lighting. We are the marine lighting installers Miami with personalized solutions for functionality and atmosphere. For whatever deck lighting or yacht party mood lighting you may require, we have got it all. Seeking to bring drama and security? Our installation services of underwater boat lights deliver dramatic light effects while enhancing view during nighttime cruises. From plain white lights to brilliant RGB underwater illumination, we will turn your ideas into reality. Our Marine Underwater Installation Miami packages are complete with sonar transducers and underwater cameras—a serious angler's or explorer's tools that you'll definitely need. Marine Security Systems Installation Miami: Safeguard What Matters Most Security both at sea and on land is equally essential. That's why we offer superior marine security systems installation Miami options, such as surveillance cameras, motion sensors, and GPS tracking. Docked or cruising, our security systems provide peace of mind with real-time notifications and remote monitoring. Smart Yachting with Control4 Yacht Automation Miami Want to control lighting, audio, security, and more from one interface? We specialize in Control4 yacht automation Miami, making your yacht a smart, responsive boat. Control4 allows you to control everything from your smartphone or tablet, having total control at your fingertips. From adjusting your marine stereo system Miami, setting the ambiance lighting, or monitoring security feeds, Control4 provides unparalleled convenience and luxury. Serving South Florida – Find Marine Electronics Near You Wherever you are, we're close and ready to assist. If you're looking for "marine electronics near me Miami," stop searching and look no further than Marine Tech Miami. We're proud to serve not only Miami, but also Ft. Lauderdale, the Keys, and beyond. From small upgrades to complete refits, we offer the finest Miami yacht electronics upgrade services in the area. Our skilled technicians work on boats of all sizes—small center consoles to superyachts—with care and professionalism. Why Marine Tech Miami? ✅ Factory-certified Garmin marine installers Miami ✅ JL Audio marine systems and Fusion stereo installation factory-trained ✅ Marine radar and GPS installation Miami experts ✅ Smooth Starlink and marine Internet integration ✅ Complete marine lighting, sound, and security services ✅ On-site installation and customized customer service Contact Us Today Ready to take your boating experience to the next level? Count on Marine Tech Miami for everything from boat GPS installation Miami to Fusion marine stereo Miami systems and wifi for yachts Miami. Contact us today to schedule a complimentary consultation and see how we can make your time on the water better.

The recent Boat Show in Fort Lauderdale was a hub of excitement and innovation, showcasing the latest trends in the boating industry. One notable observation was the lack of automation in new vessels. Many boat owners are missing out on the incredible benefits that automation can bring to their boating experience. In this blog post, we'll explore how implementing Control4 automation can revolutionize the way you interact with your vessel. Streamlining Control with a Single Device: Gone are the days of juggling multiple remote controls to manage different systems on your vessel. With Control4, you can easily control everything from lighting and climate control to entertainment and security, all from a single device. Imagine the convenience of adjusting the lighting ambiance, setting the perfect temperature, and even playing your favorite music, all at the touch of a button on your phone or iPad. Seamless Integration and Customization: Control4 offers seamless integration with various systems and devices on your vessel. Whether it's integrating with your existing audiovisual equipment or connecting with smart sensors for enhanced security, Control4 can be customized to meet your specific needs. Want to automate the opening and closing of blinds or curtains? Control4 can make it happen. The possibilities are endless, allowing you to create a personalized and tailored boating experience. Enhanced Safety and Security: Boat owners understand the importance of safety and security while out on the water. Control4 automation provides peace of mind by allowing you to monitor and control security cameras, door locks, and alarm systems remotely. Forgot to lock the cabin door? No problem. With Control4, you can secure your vessel with a simple tap on your device, ensuring that your boat and belongings are always protected. Expert Assistance from Marinetechmiami.com: Implementing Control4 automation may seem like a daunting task, but that's where Marinetechmiami.com comes in. Our team of experts specializes in integrating Control4 systems into vessels, ensuring a seamless and hassle-free installation process. We'll work closely with you to understand your needs and design a customized automation solution that fits your vessel perfectly. Conclusion: Don't miss out on the incredible benefits that Control4 automation can bring to your boating experience. Say goodbye to the hassle of multiple remote controls and embrace the convenience of controlling everything with a single device. Contact Marinetechmiami.com today to explore how Control4 can transform your vessel into a smart and connected oasis on the water.
CONTACT US
Looking to upgrade your marine electronics?
With more than 25 years of experience, we can help you get started today!


